Fast Smoked Brisket

Smoked Brisket. Nothing evokes the rolling the eyes good compliments we get like our Smoked Brisket. The only problem is that this delicacy takes darn near forever to cook correctly. Smoked Brisket also requires a smoker, which has been damaged here at headquarters, with no repair time in sight.

Without a smoker, it would seem that Smoked Brisket is a lost cause. Enter the alphageek. We posed the question: is there a way to get that smokey flavor and yet complete the dish before the game kicks off at 8PM?

This technique is simple: cook the brisket over charcoal and wood for 1-2 hours. Then, place the brisket in a pressure cooker for about an hour to complete the cooking. Then slice and enjoy.

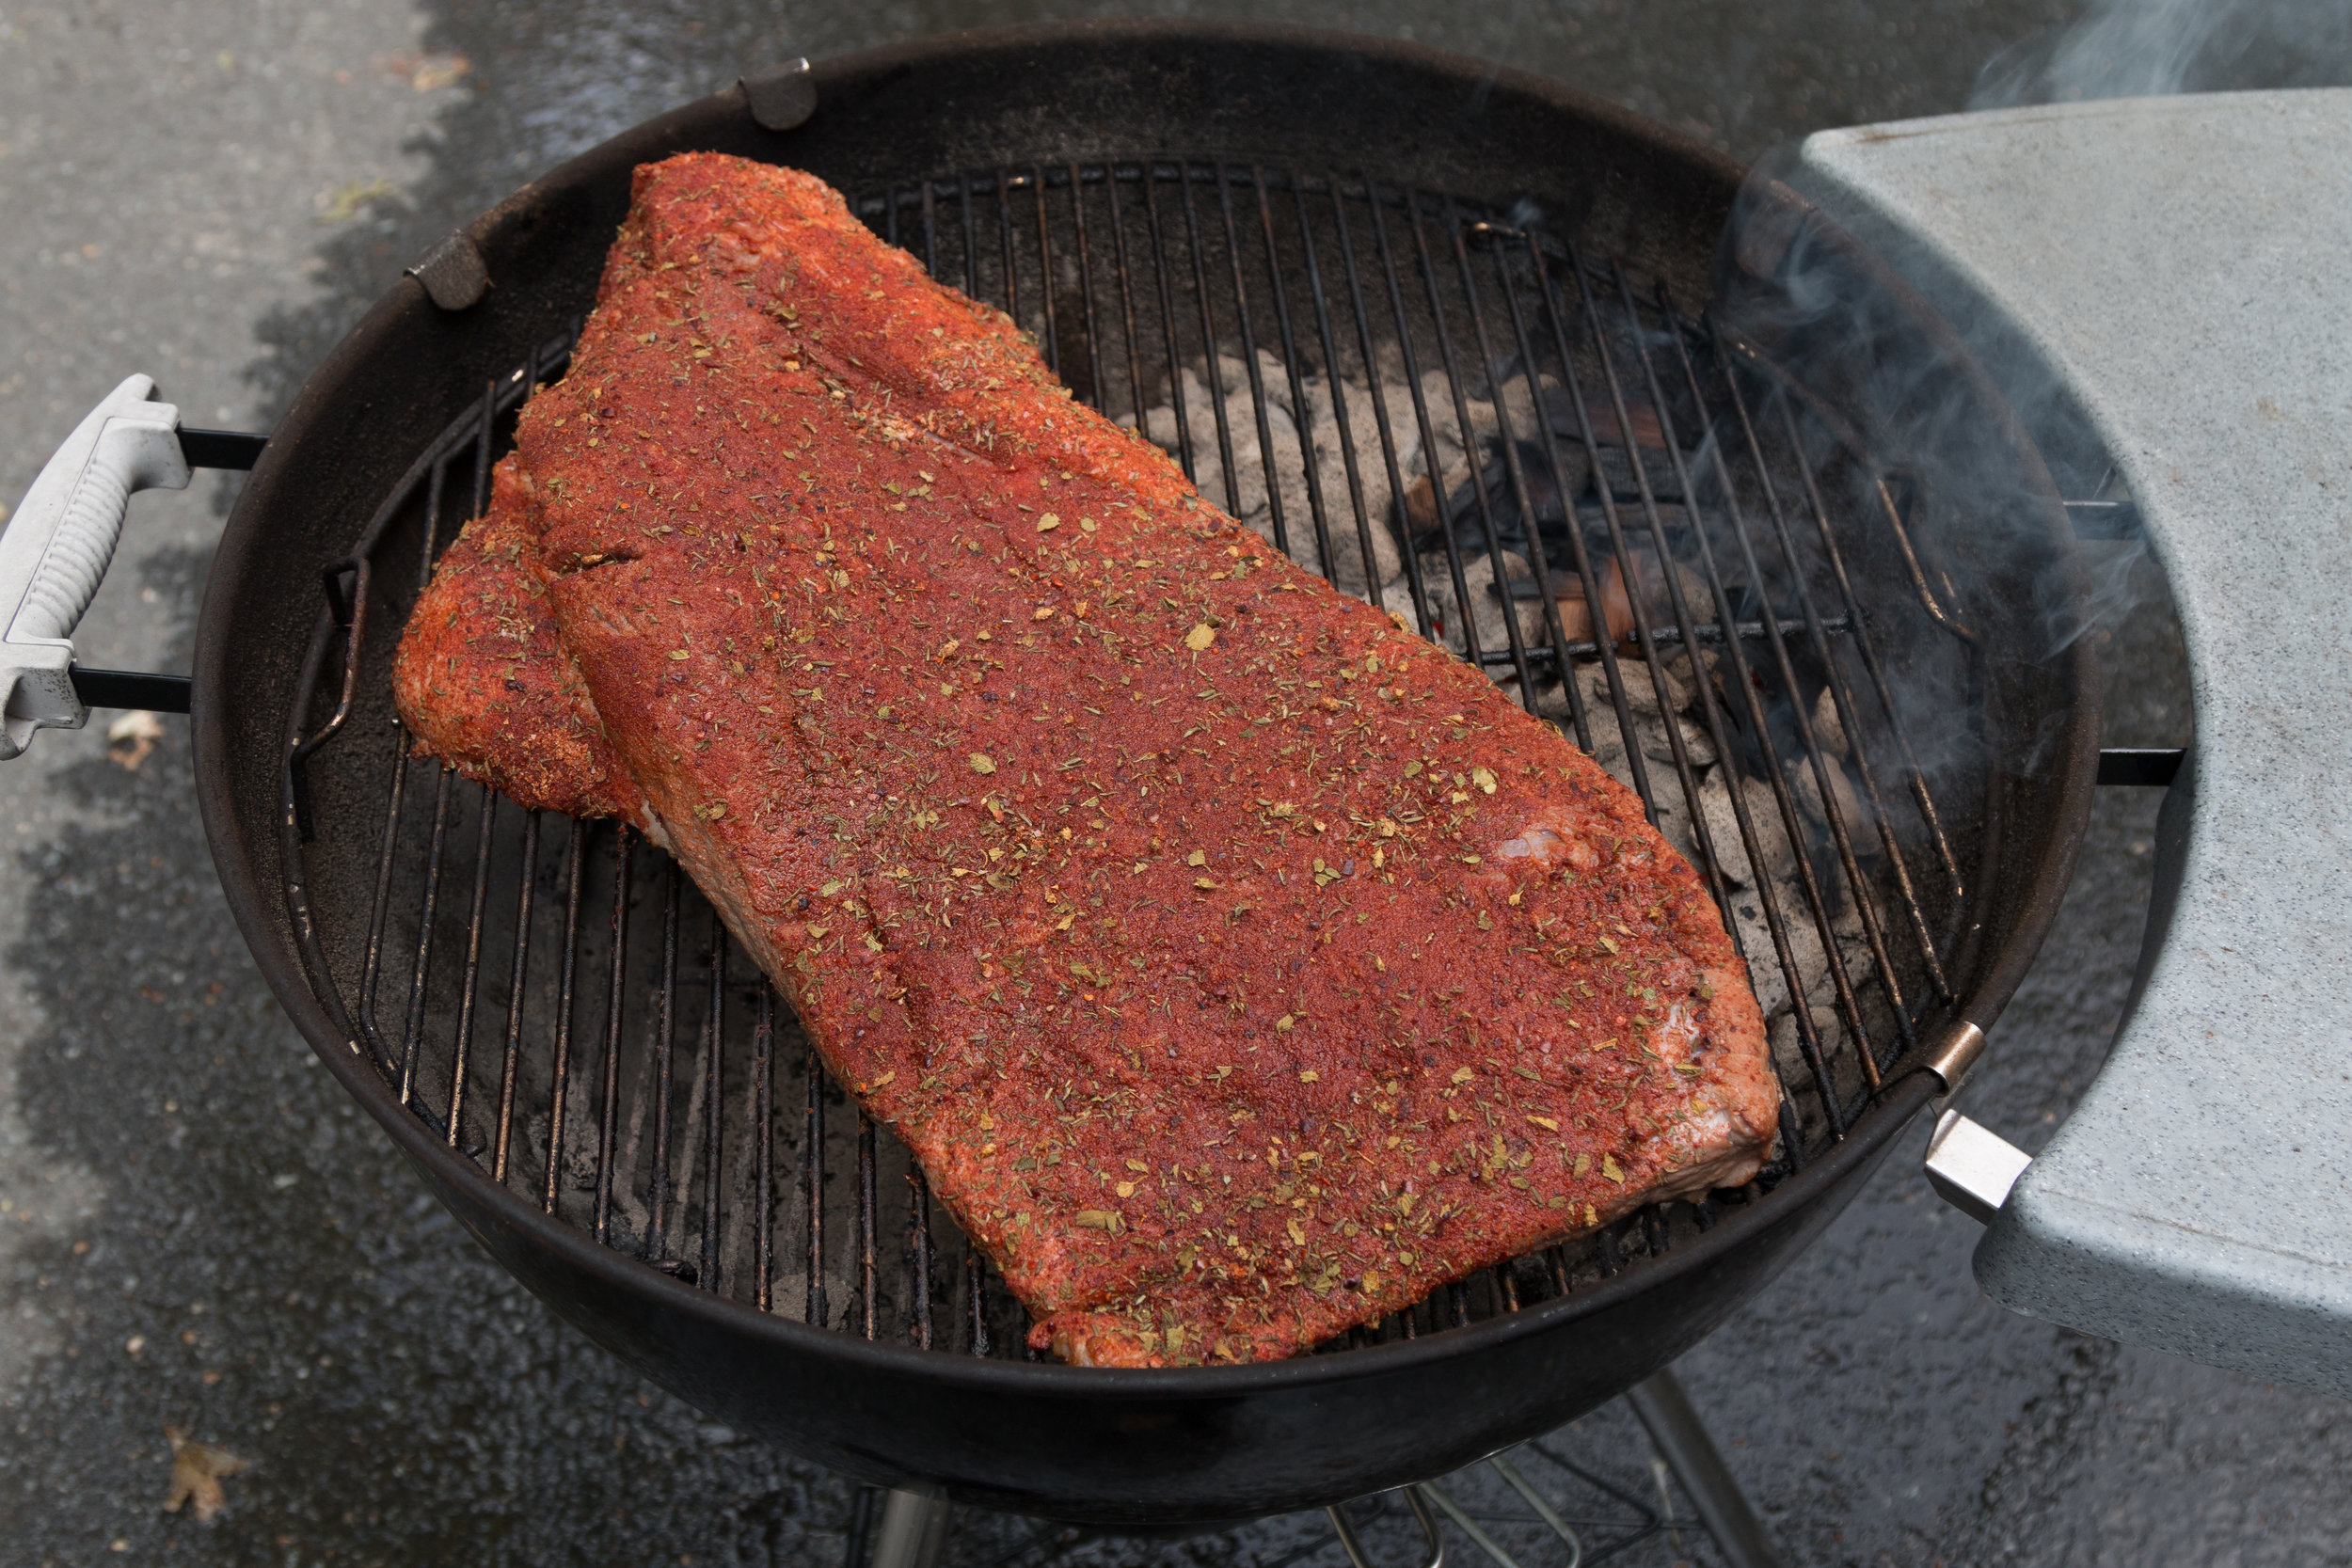
How does this work? We have read over and over that the majority of the smoke flavor enters the meat at the beginning of cooking. We thought that might be a good way to get the Weber grill involved. The Weber is easy to use and clean, unlike the smoker which can be quite a burden to use and then clean. This technique avoids all of that hassle. One just fires up a large batch of charcoal, adds some wood chips and then off we go. Below is the brisket we started with on a 22" Weber grill.

We then placed the lid on the grill and just walked away. No temperature probes, no further monitoring and no hassle. We came back about 1.5 hours later, to the view below.

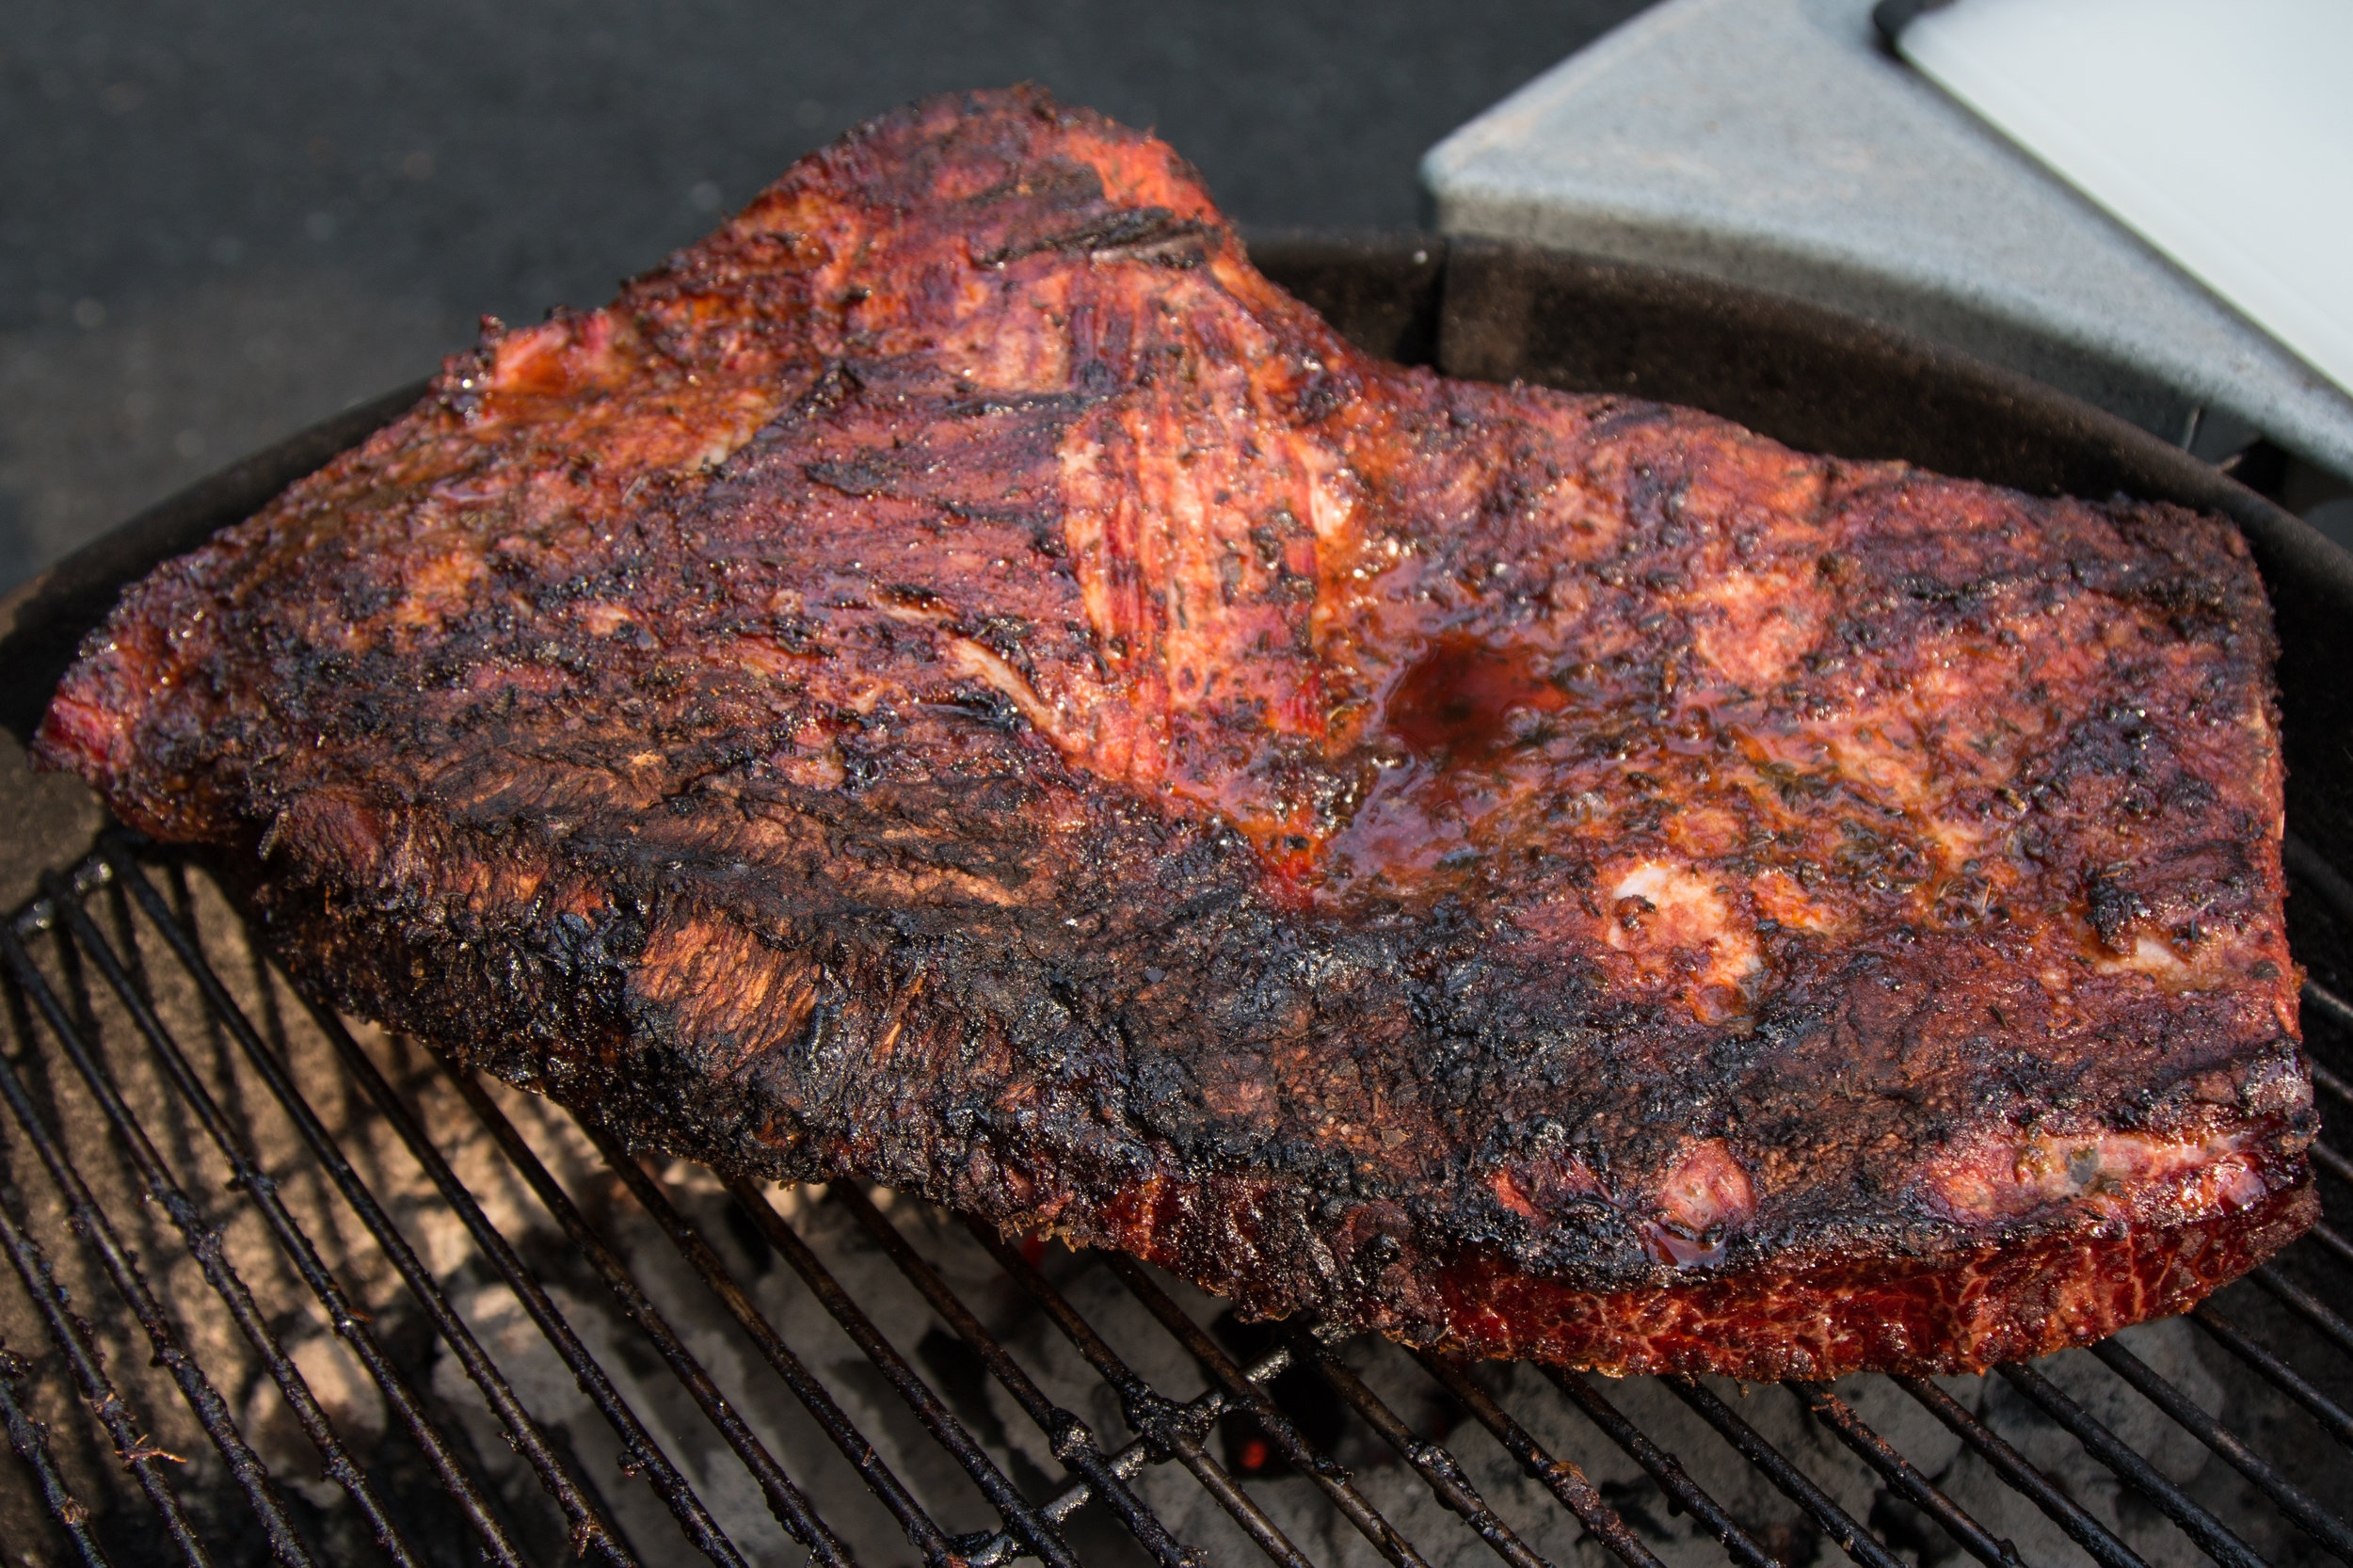
Now we have some brisket that has cooked for about an hour or so. If one cuts off an end, the taste is already there, but the tenderness that brisket needs is nowhere to be found. Usually, that is where the hours of cooking come into play. Rather than wait, we cut the brisket into chunks to place in the pressure cooker. We have a small pressure cooker here, so it took a couple of batches for a 10 lb brisket. Below is the brisket before we placed it in the pressure cooker. One can tell that this cut of meat is not yet ready, just by looking.

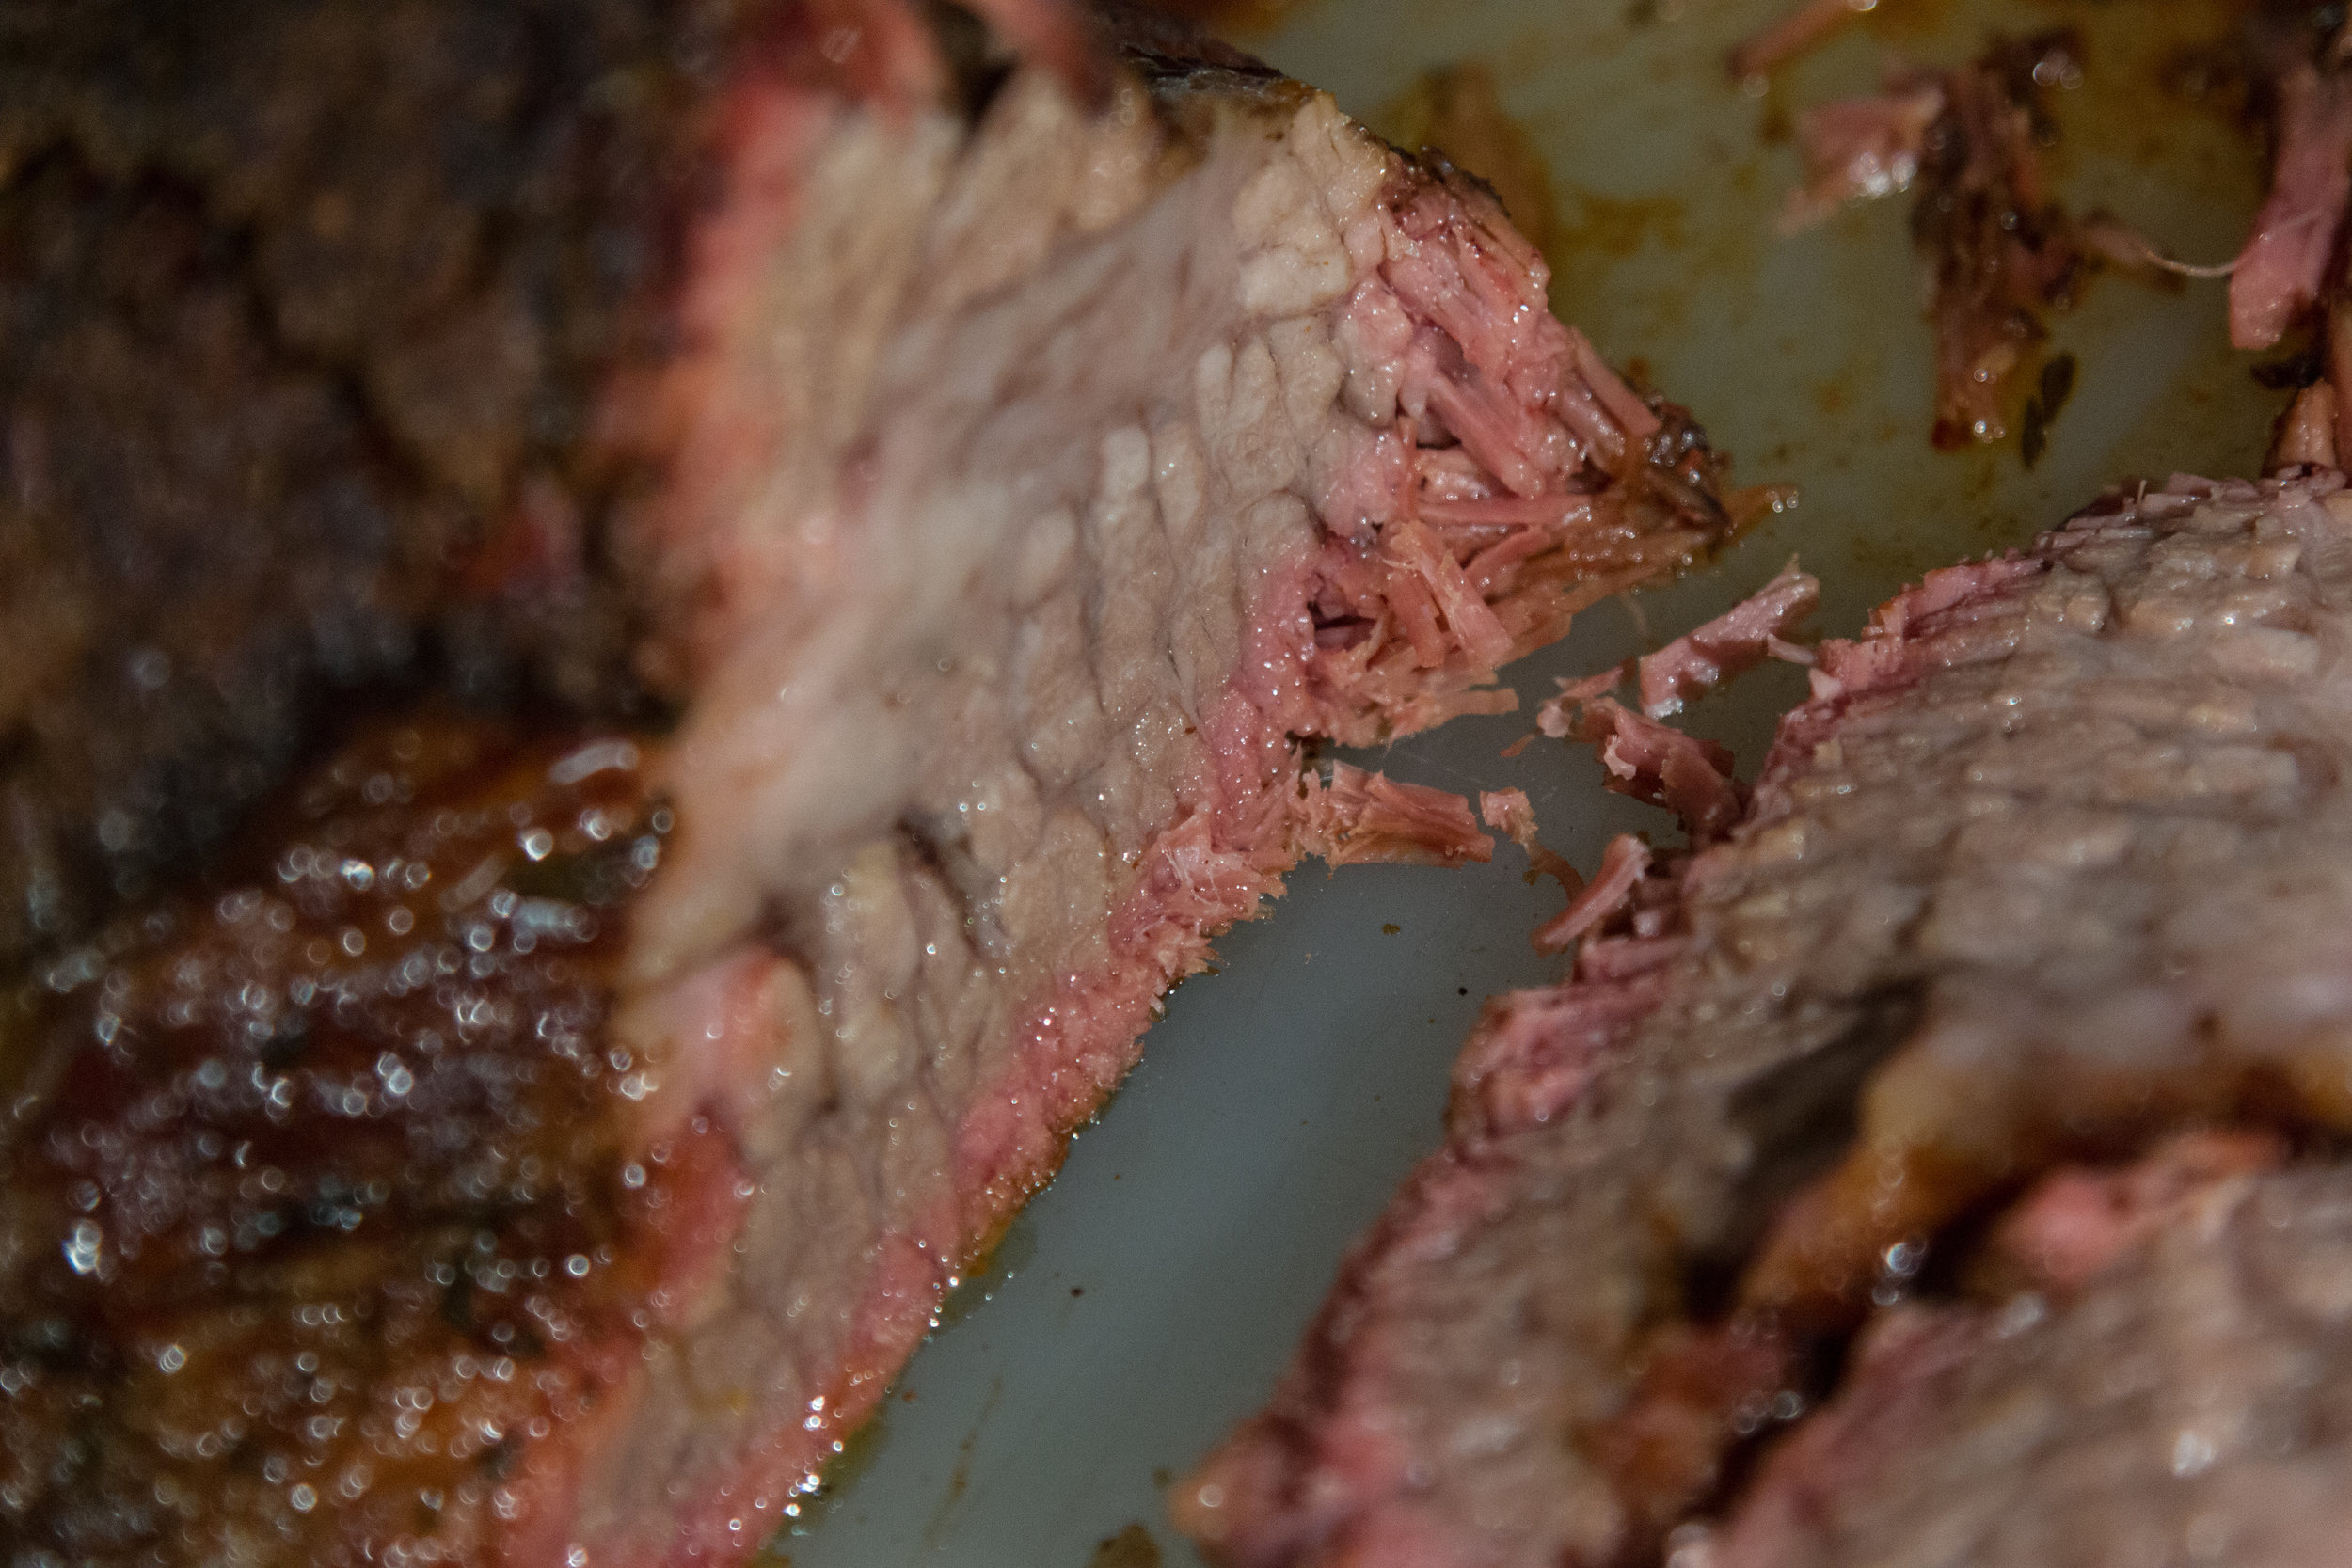
The next picture below is after one hour of cooking. The meat is so tender, it was sliced with one hand, just to show off. There is a smoke ring in the meat from the earlier cooking on the grill and the meat is tender like a great brisket should be. The big deal is that this was the easiest EVER brisket to make and the results are right up there with the best I have made, or purchased at the local smoke pit. 

If you are looking for great food with amazing time savings, give this technique a try. You do not need anything fancy to get started.

Are you interested in the exploits of the alphageek? Follow the twitter feed that gets everything at  , or you can try our facebook page.

The usual social linkes are below too.

Sharpening a Blade

This is going to be a different type of entry. If anyone read this site, this entry would almost certainly cause controversy in the world of sharpening a knife. If you have a different opinion, please feel free to share it in the comments. There is a lot to this subject, and this is only the first in what is going to become a series of thoughts on sharp things and how to keep them sharp, and/or make them sharp again.

We have been extensively reading and experimenting on sharpening knives. These experiments have been conducted over a 10-15 year period. This article does not capture all of this work and neither will any follow on articles capture this work in a temporal order. Instead, the lessons learned might come first, followed by the some poor decisions in the past that lead to a new understanding of sharpening something.

If one starts researching online, there is a considerable amount of discussion on sharpening a knife. Almost everyone has a knife, yet there is a wide variety of opinions on how to keep them sharp, and what is even important about the knife. There are discussions on the angle of the sharp blade of the knife, the type of material used to sharpen the knife and even if the knife should be sharpened using water, oil or maybe even nothing. This is all great stuff, and the alphageek loves his gadgets more than most people. However there seems to be a lack of discussing one distinct thing above all others.

The knife has to be sharp enough to cut something safely and easily.

In this daunting subject there is a distinct lack of focusing on the goal of a sharp instrument. The discussion seems to keep centering on the proper angle to use to sharpen. Is 15 degrees okay for a Santoku or does the Santoku need 20 degrees? How would one really know? What happens if the Santoku is sharpened to the wrong angle? Do the knife police show up and arrest you? Do the knife police seize your knife or do they make you sharpen it again?

Use whatever technique returns the results you need to do the job. The job is getting a knife that is sharp to cut something safely and easily.

Rather than turn this post into a long article, we are going to leave you wanting more. Sharpening a knife for use in the kitchen is not that hard, and we are going to have a series of posts in the future. We simply use a diamond sharpener to maintain the edge. Sometimes, some tungsten carbide might be necessary for a more aggressive approach after a knife is slightly damaged. You can read about all of the approaches we tried right here over the next few months. Well, maybe years at the rate things are going on this site.

Are you interested in the exploits of the alphageek? Follow the twitter feed that gets everything at  , or you can try our facebook page.

The usual social linkes are below too.